

Blog
Footwear Sole QC Checklist: What to Inspect Before Accepting a Bulk Shipment

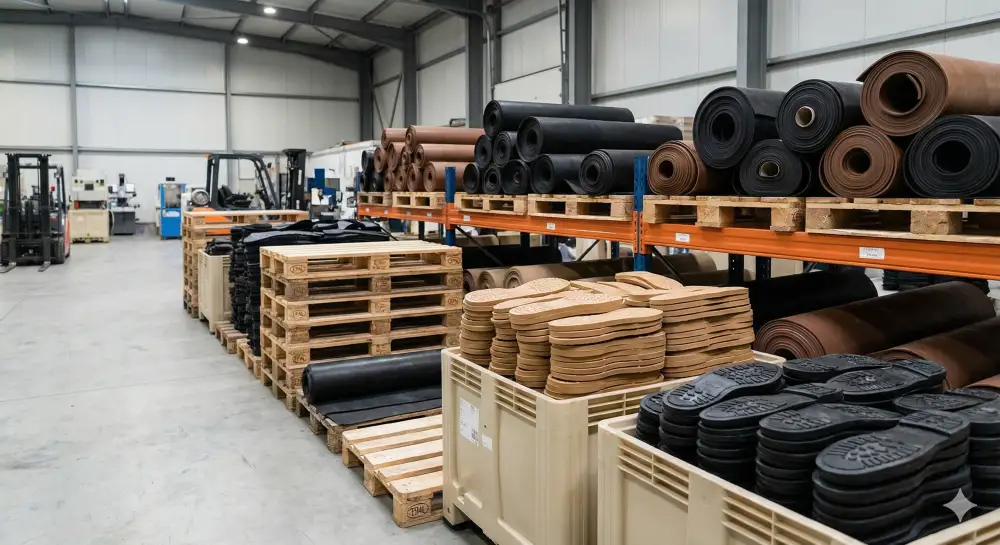
A bulk sole shipment passing a quick visual glance still carries defects surfacing only after your factory starts cutting, lasting, or assembling the material. A structured inspection process catches problems before they reach your production line, where a rejected part costs far more in lost time than the same defect caught at receiving. Here is a practical checklist for inspecting a bulk sole shipment before you sign off.
Start With Documentation, Not the Material
Before opening a single carton, confirm the shipment documentation matches your purchase order. Check the packing list against ordered quantities, confirm the batch or lot numbers appear on the shipment, and verify the compound spec sheet attached to the shipment matches the spec sheet your team approved during sourcing.
A mismatch here signals a problem before you even touch the product. Suppliers occasionally substitute a similar compound during a material shortage without formal notice, and catching this at the documentation stage saves your quality team from testing material never belonging in the shipment in the first place.
Visual Inspection
Pull a representative sample from multiple cartons across the shipment, not only the top layer of the first box. Suppliers sometimes place their best material near the top of a shipment, so sampling from the middle and bottom of pallets gives a more accurate picture of overall batch quality.
Check each sample for:
- Surface defects. Look for bubbles, pits, or foreign material embedded in the surface.
- Color consistency. Compare samples against your approved color standard under consistent lighting, since color shifts often become visible only under specific light sources.
- Tread pattern clarity. Confirm mold definition transferred cleanly, with no blurred edges or incomplete fill in the tread pattern.
- Flash and trim quality. Excess flash along parting lines signals a molding process control issue worth flagging to your supplier.
Dimensional Checks
Measure thickness, length, and width against your approved spec sheet tolerances, using calipers rather than a visual estimate. Take measurements at multiple points across each sample, since a part measuring correctly at the center sometimes tapers out of tolerance toward the edges.
Compare dimensional results across samples from different cartons in the shipment. Consistent measurements across the full sample set indicate stable process control at the supplier’s facility. Wide variation between samples from different cartons suggests inconsistent production, even if individual samples fall within tolerance.
Hardness Testing
Test Shore hardness at multiple points on each sample using a durometer, and compare results against the spec sheet target range. Take readings from both the center and edges of larger parts, since uneven curing or molding sometimes produces a hardness gradient across a single component.
Record hardness results by carton or lot number, not only as a single average across the full shipment. This record lets your team trace a hardness deviation back to a specific portion of the shipment if a problem surfaces later during production, rather than treating the entire shipment as suspect based on one outlier reading.
Bond and Adhesion Testing
For multi-layer components, such as a heel lift bonded to a base layer, test bond strength by attempting to separate the layers manually at the edge. A properly bonded component resists separation under firm hand pressure. A component peeling apart easily signals a bonding process problem showing up as field failures once the shoe reaches a consumer.
For components requiring adhesive bonding during your own assembly process, request a small test batch and run an actual bonding trial on your factory floor before accepting the full shipment. A material bonding well in a supplier’s lab does not always bond the same way under your specific adhesive and process conditions.
Flex and Abrasion Spot Checks
Flex testing on a receiving inspection does not need to match a full accelerated wear test, but a basic manual flex check catches gross defects. Fold a sample repeatedly at the expected flex point and check for cracking or surface splitting after a set number of cycles.
Abrasion spot checks work well as a comparative test against a reference sample from a previous approved shipment, rather than requiring full lab equipment at receiving. Rub a test sample against a standard abrasive surface for a fixed number of cycles and compare material loss against your reference sample.
Packaging and Storage Condition Review
Check packaging for moisture damage, crushing, or contamination during transit, since compromised packaging often indicates the material inside experienced conditions outside the approved storage range. Rubber and TPR compounds degrade faster when exposed to heat or humidity during a long shipping transit, and packaging condition offers an early clue before the material itself shows visible signs of degradation.
Confirm the shipment traveled within any temperature or humidity limits specified in your supplier agreement, particularly for shipments crossing extended ocean transit routes through variable climate zones.
Building a Sampling Plan Fitting Your Volume
Match your sampling percentage to shipment size and defect risk history with a given supplier. A new supplier or a supplier with a recent quality issue warrants a higher sampling percentage than an established supplier with a long record of consistent shipments. Many procurement teams reference AQL sampling tables to set a defensible sample size proportional to lot size, rather than picking an arbitrary sample count.
Document every inspection result, whether the shipment passes or fails, and track results by supplier over time. A supplier with a declining quality trend across several shipments deserves a conversation before a full rejection becomes necessary, and inspection records give your team the data to support the conversation.
Setting Up a Receiving Inspection Station
A dedicated receiving inspection station saves time and improves consistency compared to inspecting shipments wherever space happens to be available on a given day. Equip the station with calipers, a durometer, a reference color standard, adequate lighting matching your production floor conditions, and a standard inspection form covering every checklist item in this guide.
Train more than one team member on the inspection process, so quality checks continue smoothly during staff absences or high-volume receiving periods. A single point of failure in your inspection process creates risk during exactly the periods when careful inspection matters most, such as a rush order arriving ahead of a tight production deadline.
Handling Borderline Results
Not every inspection result falls cleanly into pass or fail. A sample measuring at the edge of an acceptable tolerance range, or a hardness reading slightly outside spec but within a range your production process likely accommodates, creates a judgment call for your quality team.
Set a clear escalation path for borderline results before you need one during an actual receiving inspection. Decide in advance who has authority to accept a borderline shipment, what documentation the decision requires, and how your team communicates a conditional acceptance to the supplier. A defined process here prevents inconsistent decisions from different team members handling similar borderline cases in different ways over time.
Frequently Asked Questions
How many samples should I pull from a bulk sole shipment?
Sample size depends on total shipment quantity and your risk tolerance. AQL sampling tables provide a standard reference point, with higher sampling percentages recommended for new suppliers or after a recent quality issue.
What hardness variation should trigger a rejection?
Most buyers set a tolerance of plus or minus 3 to 5 points on the Shore scale from the target spec, though the exact threshold depends on your product application. Confirm your tolerance threshold with your supplier before the first shipment arrives.
Should I test every carton in a shipment?
Testing every carton rarely makes sense for cost and time reasons. A structured sampling plan across multiple cartons gives a representative picture without the cost of full inspection on every unit.
What is the biggest mistake buyers make during receiving inspection?
Sampling only from the top layer of the first carton opened. This approach misses variation a broader sample across multiple cartons and pallet positions would catch.
How do I handle a shipment failing inspection?
Document the specific failure with photos and measurements, notify your supplier promptly with the data, and agree on a resolution path before the shipment moves further into your production process. A quick, documented response protects your production schedule and gives your supplier clear information to correct the issue.
Building a QC process for incoming sole shipments? Weston Rubber provides full batch documentation, spec sheets, and pre-dispatch inspection records to support your receiving process. Contact our team to discuss quality documentation for your next order.