

Blog
How TPR Soling Materials Are Made: Injection Molding Explained Step-by-Step

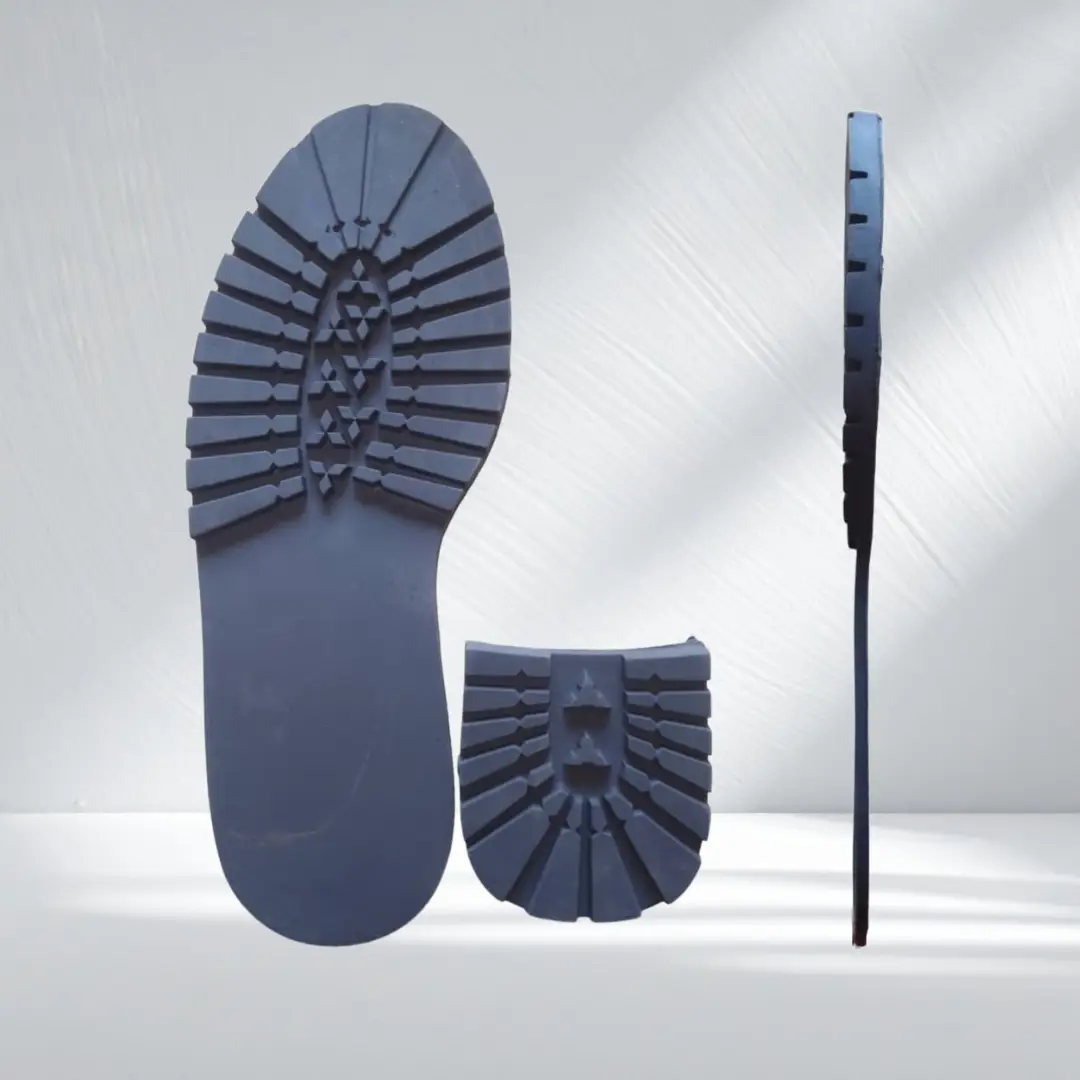
TPR soling materials reach footwear factories through a single dominant production method: injection molding. Buyers sourcing TPR components benefit from understanding this process in detail, since each step affects the final hardness, density, and surface quality your factory receives. Here is the full injection molding sequence, broken down step-by-step.
Why Injection Molding Is the Standard Process for TPR
TPR compounds soften and flow under heat without undergoing a permanent chemical change, unlike rubber, which cures through cross-linking. This thermoplastic behavior makes TPR well suited to injection molding, where the process melts pellets, injects the melt into a mold, and cools the material into a finished shape within a single continuous cycle.
Manufacturers favor injection molding for TPR over compression molding for one main reason: cycle speed. Injection molding produces a finished part in a fraction of the time compression molding requires for a comparable rubber component, since the process combines melting, filling, and cooling into one machine cycle rather than separate mixing, milling, and pressing stages.
Step One: Compounding and Pellet Preparation
TPR production starts with compounding, where manufacturers combine styrenic block copolymers with plasticizers, fillers, and process oils in precise ratios to hit a target hardness and density. This compounding stage happens at a dedicated facility, producing uniform pellets ready for the injection molding machine.
Pellet quality affects every downstream step. Pellets with inconsistent size or moisture content feed unevenly into the molding machine, which creates variation in the finished part. Buyers auditing a supplier’s process should ask how pellets get stored and handled before molding, since moisture absorption during storage causes surface defects in the finished blocker or component.
Step Two: Feeding and Melting
The injection molding machine draws pellets from a hopper into a heated barrel. A rotating screw inside the barrel pushes the pellets forward while generating friction and heat, gradually melting the compound into a uniform, flowable state. Barrel temperature zones typically increase from the feed end toward the nozzle, giving the compound a controlled, gradual melt rather than a sudden temperature shock.
Melt temperature consistency matters directly for part quality. A melt running too cool fails to fill the mold completely, leaving short shots or incomplete sections. A melt running too hot risks degrading the compound, weakening physical properties like tensile strength and abrasion resistance in the finished part.
Step Three: Injection Into the Mold
Once the melt reaches the correct temperature and viscosity, the screw drives forward, pushing the melted compound through a nozzle and into the closed mold cavity under high pressure. This injection phase happens quickly, often in a few seconds, filling every section of the mold cavity before the material starts cooling and losing flowability.
Injection pressure and speed both affect fill quality. Low pressure risks incomplete filling in complex mold geometries, while excessive pressure creates flash along the mold parting line or stresses the mold tooling unnecessarily over repeated cycles.
Step Four: Cooling and Solidification
After the mold cavity fills completely, the machine holds pressure while the compound cools inside the closed mold. Cooling channels built into the mold circulate water or coolant to remove heat efficiently, since cooling time makes up a large share of the total cycle time for any injection molded part.
Cooling rate affects the finished part’s dimensional stability and surface finish. Cooling too fast creates internal stress showing up later as warping. Cooling too slowly extends cycle time unnecessarily, raising production cost without improving part quality once cooling reaches the point of full solidification.
Step Five: Ejection and Trimming
Once the compound solidifies enough to hold its shape, the mold opens and ejector pins push the finished part free from the cavity. Workers or automated systems then trim any minor flash remaining along the parting line, though a well-tuned injection process produces minimal flash compared to compression molding.
Quality inspectors check dimensions, hardness, and surface finish on parts pulled from the production line at set intervals, comparing results against the approved spec sheet before releasing a full batch to packing and shipping.
Quality Control Checkpoints During Injection Molding
Strong suppliers monitor several variables continuously during a production run rather than checking only the finished part. Melt temperature, injection pressure, cooling time, and cycle time all get logged and tracked against target ranges, since a drift in any one of these variables signals a process issue before defective parts accumulate in a full batch.
Ask your supplier how frequently they pull samples for hardness and dimensional checks during a production run, and request this data alongside your shipment documentation for high-volume or compliance-sensitive orders.
Common Defects and Their Causes
Short shots, where the mold cavity fails to fill completely, usually trace back to low melt temperature, insufficient injection pressure, or a mold vent blocked by trapped air. Flash along the parting line points to excessive injection pressure or a mold clamping force set too low for the part geometry.
Surface streaking or discoloration often traces back to moisture in the pellets or contamination in the barrel from a previous production run using a different color or compound. Warping after ejection frequently points to uneven cooling across the mold cavity, particularly in parts with varying wall thickness.
Working With Weston Rubber on TPR Injection Molding
Weston Rubber monitors melt temperature, injection pressure, and cooling parameters continuously across every production run, logging this data by batch for buyers who need documented process control alongside their compound spec sheets. This level of tracking catches process drift before a full shipment ships with a hidden defect.
Mold Design Considerations Specific to TPR
TPR shrinks slightly while cooling from a molten state to a solid part, and mold designers account for this shrinkage rate when cutting the mold cavity, since a cavity sized to exact finished dimensions produces an undersized part once the material cools and settles. Shrinkage rates vary by compound formulation, so a mold designed for one TPR formulation sometimes needs adjustment when a supplier switches to a different compound blend.
Gate placement, the point where melted compound enters the mold cavity, affects fill pattern and weld line locations across the finished part. Poor gate placement creates weak points where two flow fronts meet inside the mold, sometimes visible as a faint line on the finished part and occasionally weak enough to affect part strength in high-stress applications.
Frequently Asked Questions
Does TPR always get processed through injection molding?
Injection molding remains the dominant method for TPR, though some suppliers use compression molding or extrusion for specific sheet formats. Confirm the processing method with your supplier, since the method affects surface finish and dimensional consistency.
What causes color variation between batches of injection molded TPR?
Color variation often traces back to pigment dispersion inconsistency during compounding or residual material from a previous color run remaining in the barrel. Ask your supplier about their barrel purge process between color changes.
How long does a typical TPR injection molding cycle take?
Cycle times vary by part size and wall thickness, but many TPR components complete a full cycle within thirty seconds to two minutes, considerably faster than a comparable compression molded rubber part.
Does injection molding work for large TPR blockers?
Yes. Injection molding produces blockers of significant size and thickness, provided the molding machine has sufficient clamping tonnage and shot capacity for the part volume.
What data should I request from a TPR supplier to confirm process control?
Request melt temperature logs, injection pressure records, and hardness test results tied to batch or lot numbers, so your team traces a quality issue back to a specific point in production if a problem surfaces later.
Sourcing TPR components and want documented process control behind every batch? Weston Rubber tracks melt temperature, pressure, and cooling data across every injection molding run. Contact our team for process documentation and current compound options.